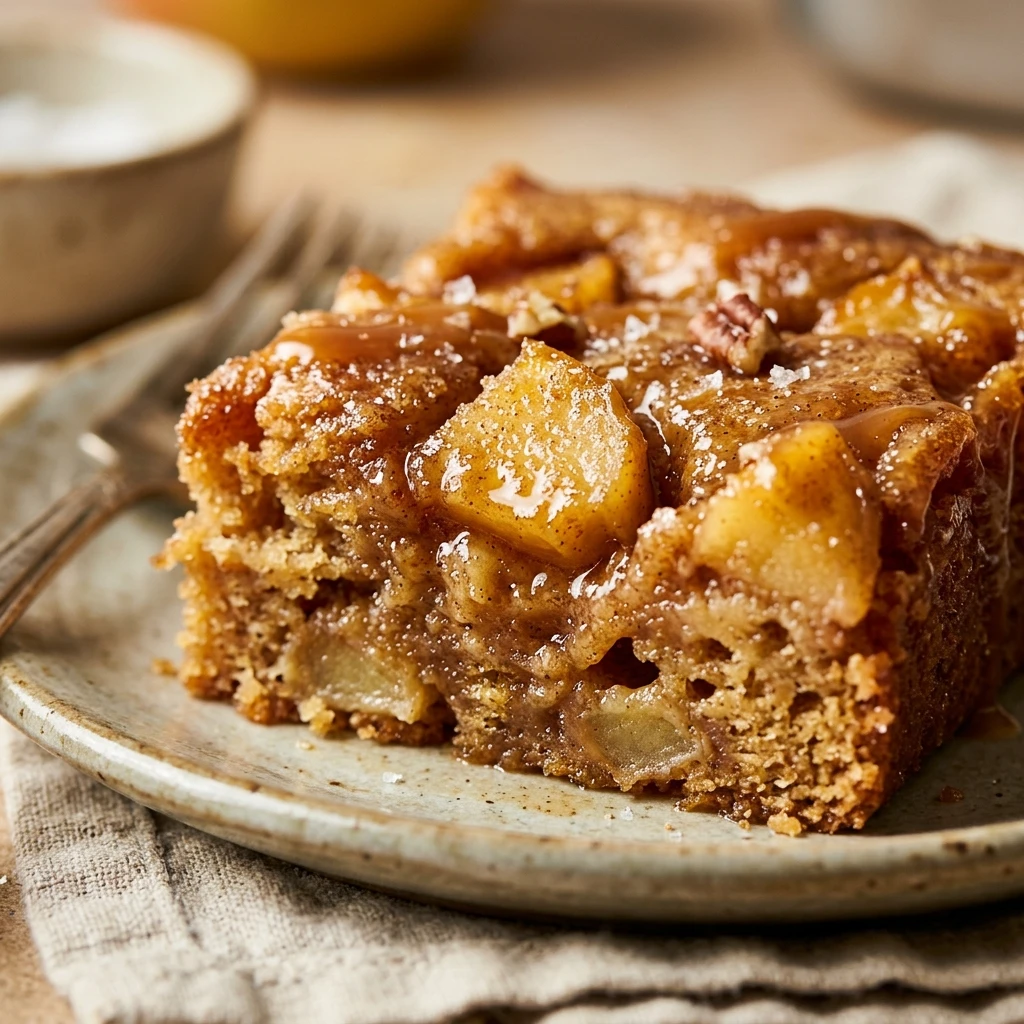
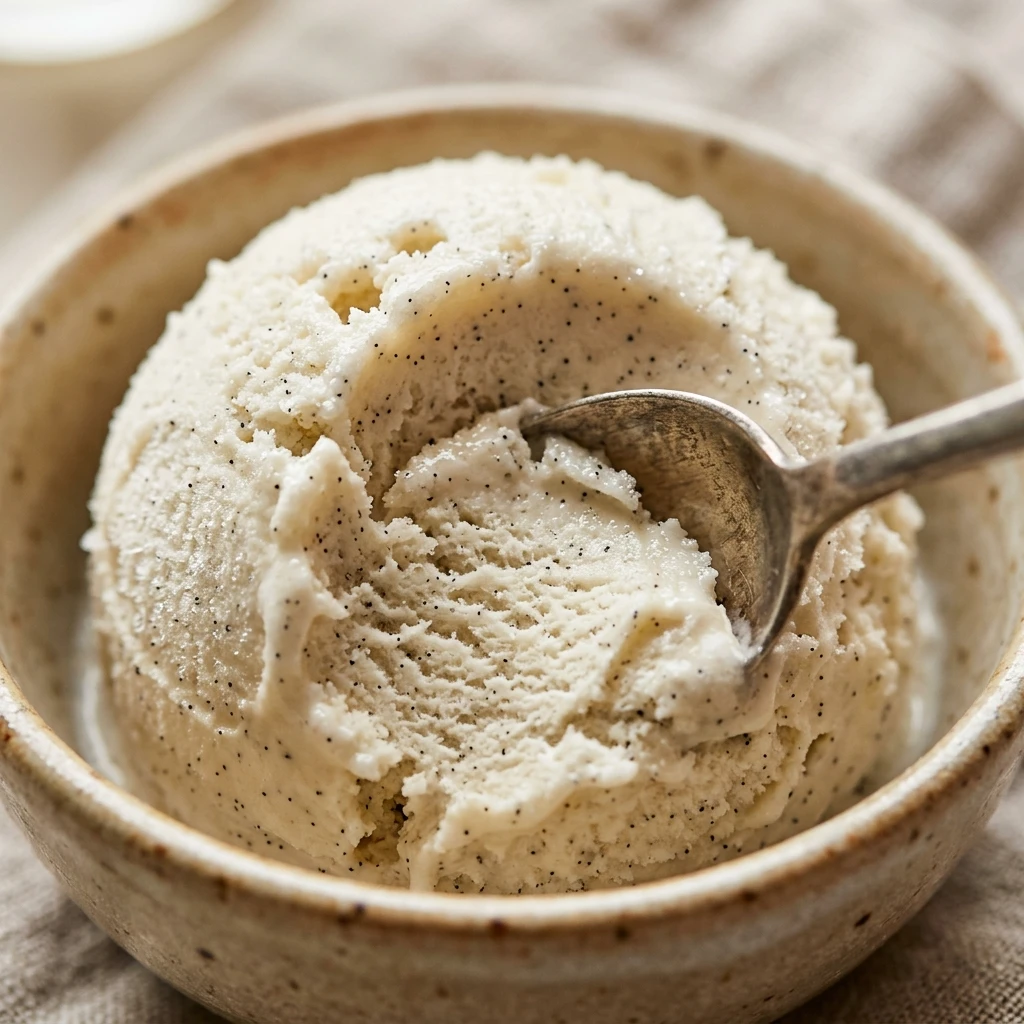

There is nothing quite like the silky, smooth texture of homemade vanilla ice cream. While store-bought pints are convenient, they cannot compete with the rich, custardy depth of a batch made right in your own kitchen. This recipe uses simple, high-quality ingredients to create a timeless dessert that pairs perfectly with everything from warm apple pie to a simple drizzle of salted caramel. Get ready to master the ultimate classic that will make you rethink your freezer aisle choices forever. Making your own ice cream is a rewarding process that brings a touch of gourmet magic to your home.
Recipe Information
- Prep Time: 15 minutes
- Cook Time: 10 minutes
- Total Time: 25 minutes
- Servings: 8
- Difficulty: Medium
Nutrition values
- Calories: 280
- Protein: 4g
- Carbs: 22g
Why Make This vanilla ice cream
This recipe stands out because it focuses on a traditional custard base, resulting in a superior mouthfeel. You avoid the artificial stabilizers and gums found in commercial brands. By making it yourself, you control the quality of the vanilla and the richness of the cream. It serves as the perfect canvas for any topping you can imagine, and the satisfaction of seeing liquid cream transform into a frozen delight is unmatched.
Ingredients
- 2 cups heavy whipping cream
- 1 cup whole milk
- 3/4 cup granulated sugar
- 5 large egg yolks
- 1 tablespoon pure vanilla extract (or 1 vanilla bean, split and scraped)
- 1/4 teaspoon fine sea salt
Directions
Step 1: Infusing the Dairy
In a medium saucepan, combine the whole milk, sugar, salt, and 1 cup of the heavy cream. If you are using a vanilla bean instead of extract, scrape the seeds into the pot and drop in the pod. Heat the mixture over medium heat, stirring occasionally, until it is steaming and the sugar has completely dissolved. Do not let it come to a full boil. Remove from heat and let it sit for a few minutes.
Step 2: Tempering the Egg Yolks
Place the egg yolks in a medium bowl and whisk them gently. Slowly pour about half of the warm milk mixture into the egg yolks in a thin stream, whisking constantly. This “tempering” process warms the eggs slowly so they do not scramble. Once combined, pour the egg mixture back into the saucepan with the remaining milk.
Step 3: Thickening the Custard
Place the saucepan back over medium-low heat. Stir the mixture constantly with a heat-proof spatula or wooden spoon. Cook until the liquid thickens slightly and coats the back of the spoon. This usually takes about 5 to 7 minutes. Immediately strain the custard through a fine-mesh sieve into a clean bowl containing the remaining 1 cup of heavy cream. Stir in the vanilla extract.
Step 4: Chilling and Churning
Cover the bowl and refrigerate the mixture for at least 4 hours, or ideally overnight, until it is completely cold. Once chilled, pour the mixture into your ice cream maker and churn according to the manufacturer’s instructions. This usually takes 15 to 25 minutes depending on your machine. Transfer the soft-serve consistency ice cream to a container and freeze for at least 4 hours to firm up.
Expert Tips for Perfect vanilla ice cream
For the best results, always use the highest quality vanilla you can find, as it is the star of the show. Ensure your ice cream maker’s freezer bowl has been in the freezer for at least 24 hours before you start. To prevent ice crystals from forming, press a piece of plastic wrap directly onto the surface of the custard while it chills in the fridge. Using chilled equipment and a chilled custard base ensures the fastest freeze and the smoothest texture.
Delicious Variations
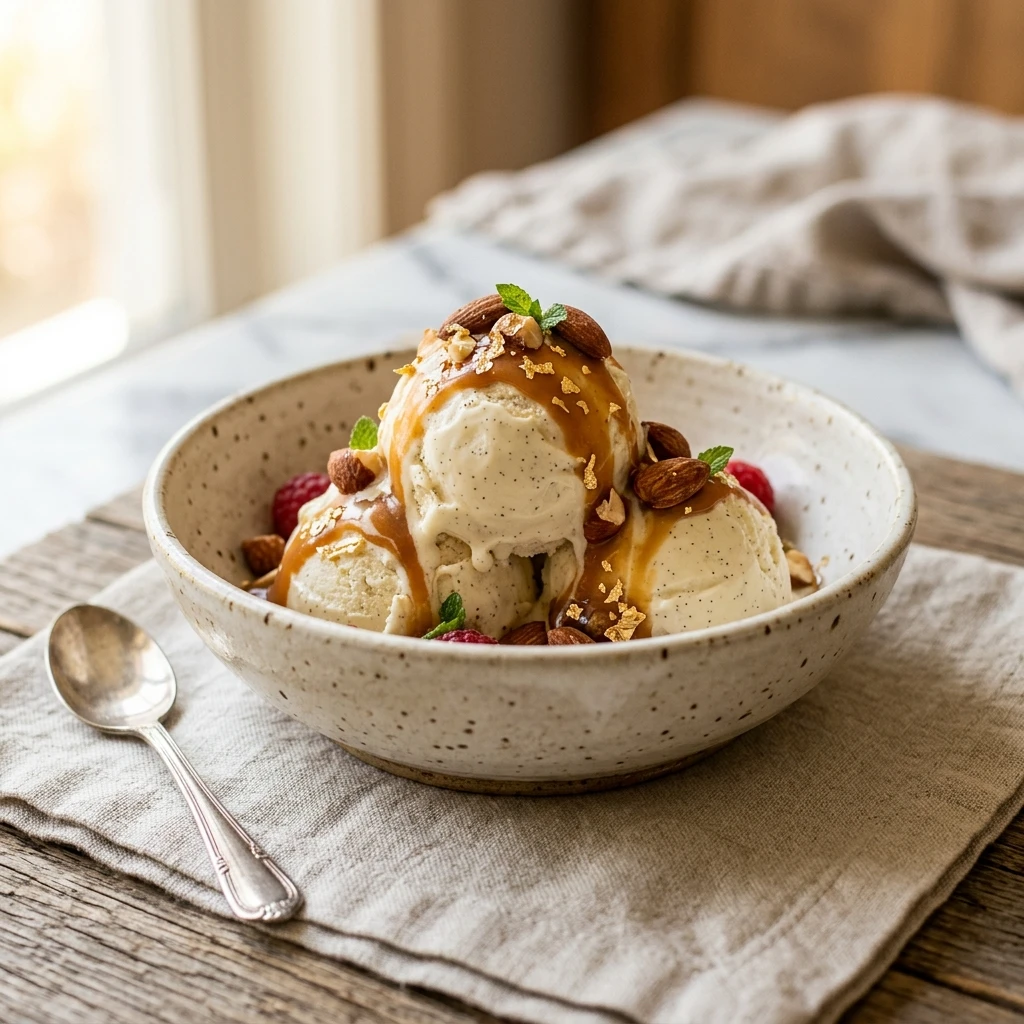
- Vanilla Bean: Use a whole vanilla bean instead of extract for those beautiful black specks and intense floral flavor.
- Honey Vanilla: Replace half of the granulated sugar with high-quality wildflower honey for a unique, earthy sweetness.
- Cookies and Cream: Fold in crushed chocolate sandwich cookies during the last two minutes of churning.
- Toasted Almond: Add half a teaspoon of almond extract and fold in toasted slivered almonds after churning.
Frequently Asked Questions
Can I make this without an ice cream maker?
Yes, you can use the “still-freeze” method. Pour the chilled custard into a shallow dish and freeze, whisking vigorously every 30 minutes for 3 hours to break up ice crystals.
How long does homemade ice cream stay fresh?
Homemade ice cream is best consumed within two weeks. Because it lacks preservatives, it can develop a grainy texture or freezer burn if stored for too long.
Why is my ice cream coming out icy?
Icy ice cream usually happens if the base wasn’t cold enough before churning or if the machine churned too slowly. Ensure your base is refrigerator-cold and your freezer bowl is rock-solid.
Can I use low-fat milk instead of whole milk?
You can, but the texture will be less creamy and more prone to icing. The fat in the heavy cream and whole milk is essential for that signature smooth mouthfeel.
What is the best way to store the finished ice cream?
Store it in an airtight container in the back of the freezer, which is the coldest spot. Avoid storing it in the freezer door where temperatures fluctuate.
Conclusion
Creating your own vanilla ice cream is a culinary milestone that rewards you with incredible flavor and a sense of accomplishment. Whether you enjoy it plain or as the foundation for an elaborate sundae, this recipe provides a foolproof method for success. Once you taste the difference that fresh cream and real vanilla make, you will find it hard to go back to store-bought alternatives. Grab your whisk and start churning your way to dessert perfection today!
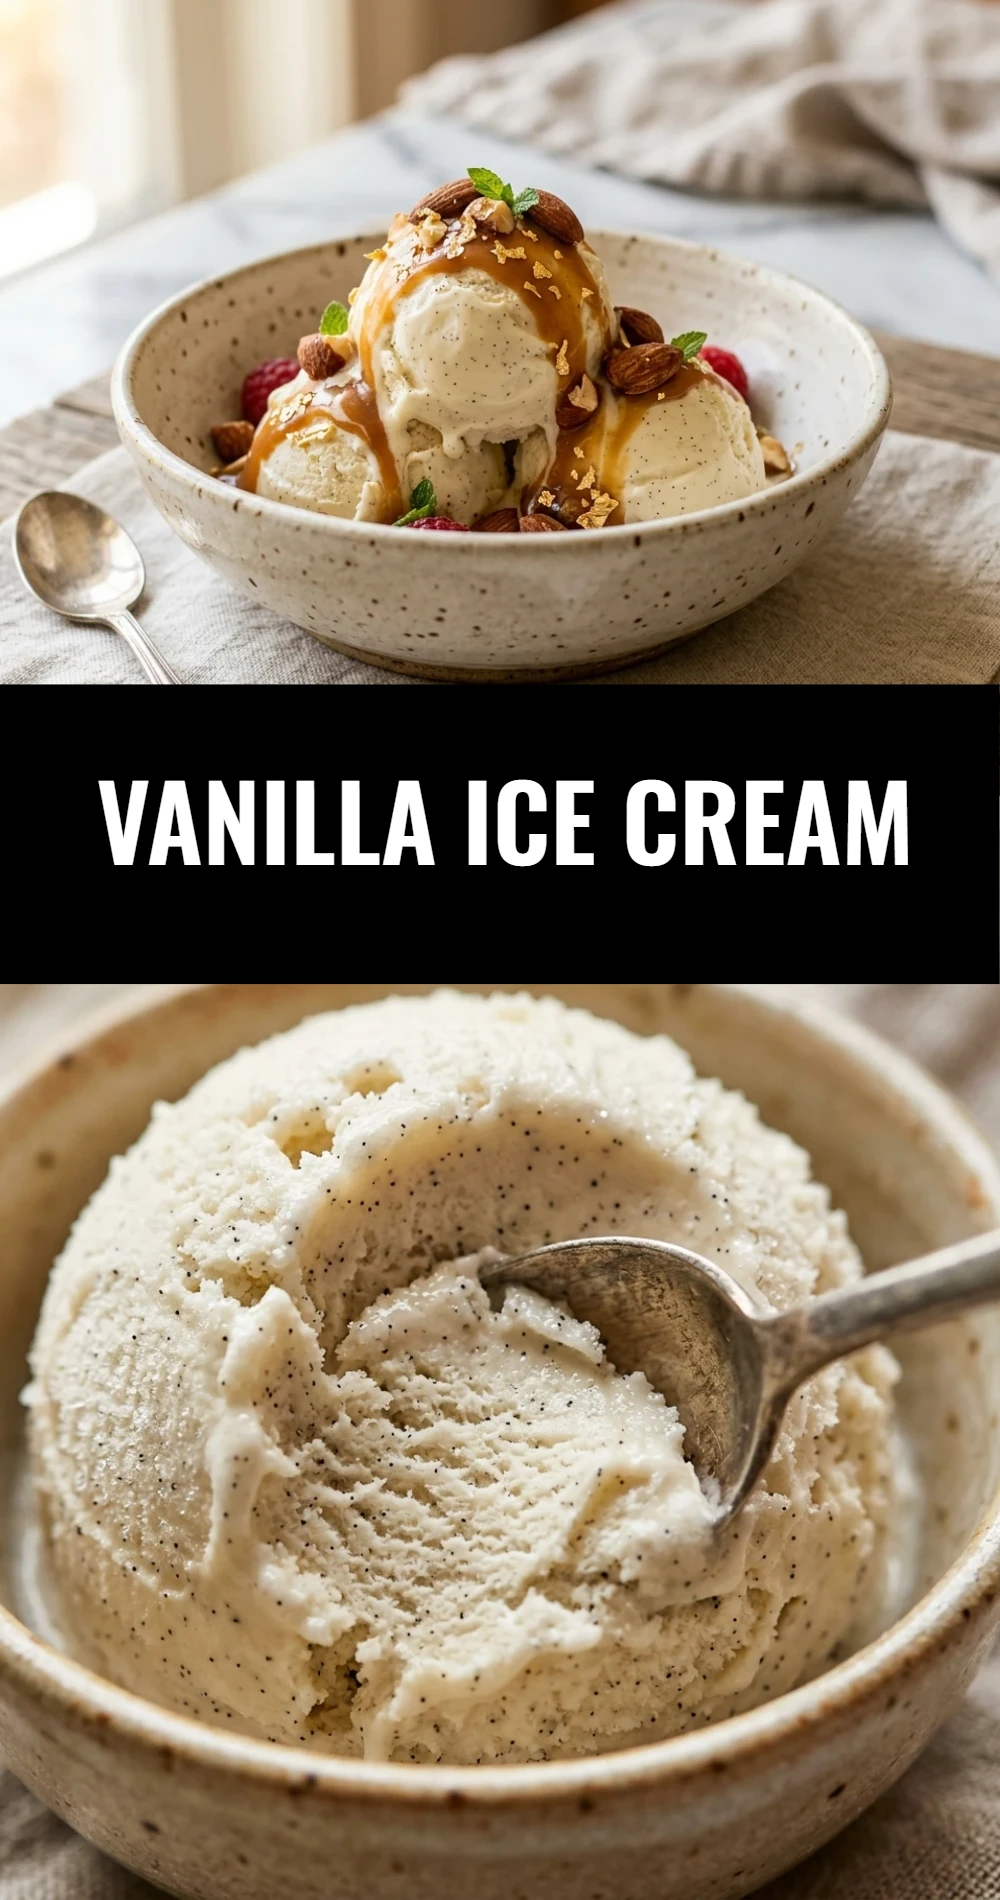
vanilla ice cream
- Cook Time: 25 minutes
- Total Time: 25 minutes
- Diet: Vegetarian, Gluten-Free
Ingredients
- 2 cups heavy whipping cream
- 1 cup whole milk
- 3/4 cup granulated sugar
- 5 large egg yolks
- 1 tablespoon pure vanilla extract (or 1 vanilla bean, split and scraped)
- 1/4 teaspoon fine sea salt
Instructions
- Step 1: Infusing the Dairy: In a medium saucepan, combine the whole milk, sugar, salt, and 1 cup of the heavy cream. If you are using a vanilla bean instead of extract, scrape the seeds into the pot and drop in the pod. Heat the mixture over medium heat, stirring occasionally, until it is steaming and the sugar has completely dissolved. Do not let it come to a full boil. Remove from heat and let it sit for a few minutes.
- Step 2: Tempering the Egg Yolks: Place the egg yolks in a medium bowl and whisk them gently. Slowly pour about half of the warm milk mixture into the egg yolks in a thin stream, whisking constantly. This “tempering” process warms the eggs slowly so they do not scramble. Once combined, pour the egg mixture back into the saucepan with the remaining milk.
- Step 3: Thickening the Custard: Place the saucepan back over medium-low heat. Stir the mixture constantly with a heat-proof spatula or wooden spoon. Cook until the liquid thickens slightly and coats the back of the spoon. This usually takes about 5 to 7 minutes. Immediately strain the custard through a fine-mesh sieve into a clean bowl containing the remaining 1 cup of heavy cream. Stir in the vanilla extract.
- Step 4: Chilling and Churning: Cover the bowl and refrigerate the mixture for at least 4 hours, or ideally overnight, until it is completely cold. Once chilled, pour the mixture into your ice cream maker and churn according to the manufacturer’s instructions. This usually takes 15 to 25 minutes depending on your machine. Transfer the soft-serve consistency ice cream to a container and freeze for at least 4 hours to firm up.